58PCS U.S. Screw Gauge + Metric Inch Thread Samples
58PCS U.S. Screw Gauge + Metric Inch Thread Samples
Couldn't load pickup availability
Item Description:
High Precision Measuring Tool
The 58PCS Stainless Steel Pitch scale offers exceptional precision measuring capabilities, ensuring accurate readings with every use.
Insert U.S. Screw Gauge
Featuring an insert U.S. screw gauge, this product is tailored for woodworking enthusiasts who require precise measurements of screws.
Metric Inch One Piece Thread Samples
The inclusion of metric inch one-piece thread samples simplifies measurement conversions between different systems, saving time and effort.
58PCS Stainless Steel Pitch Scale
With 58 distinct pitch scales, this product boasts versatility and suitability for a wide array of applications.
Features:
-
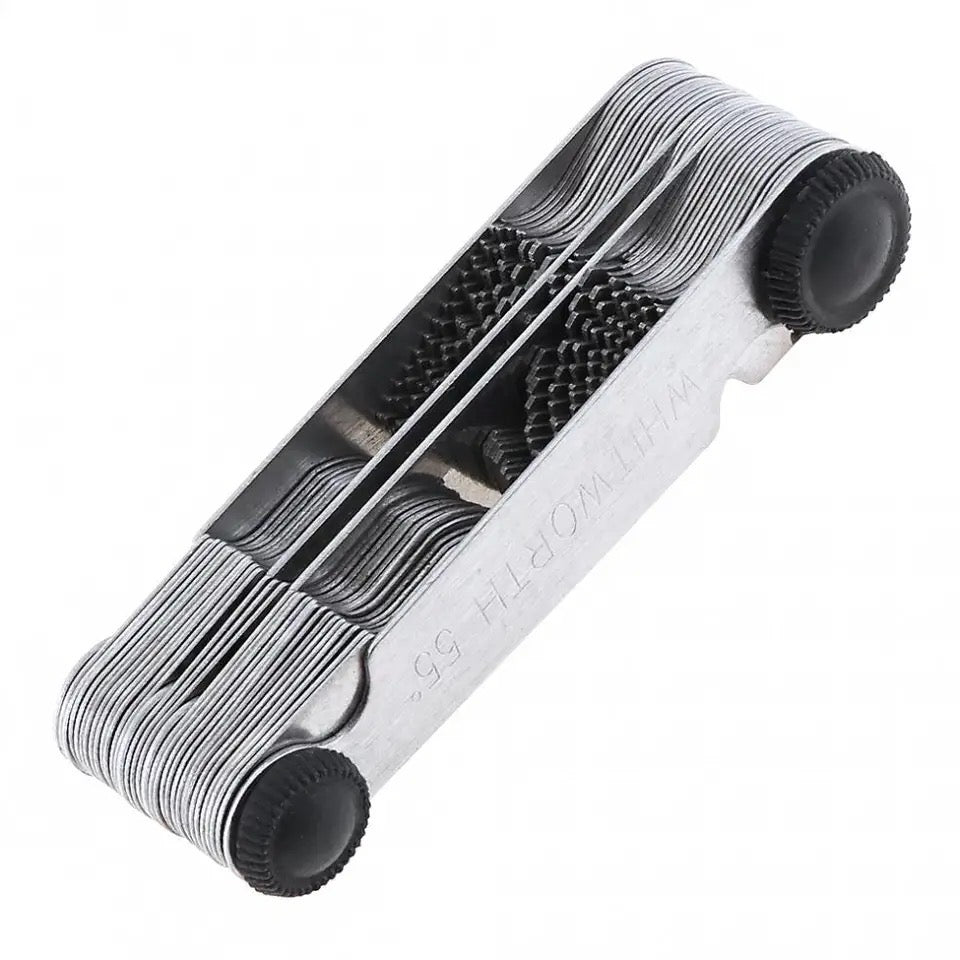
55 Degree & 60 Degree Thread/Screw Pitch Gauge with Lock-Up Device: This gauge is invaluable for checking tool angles when cutting threads on a metal lathe.
-
Check Tool Angle: Verify the angle on the thread cutting tool using the V groove of the gauge.
-
Whitworth Thread: An inch thread with a 55-degree profile angle and a flattening height of H/6. "G" represents cylindrical thread.
-
US Thread (UN Thread): Features a 60-degree profile angle and a flattening height of H/8, distinct from Whitworth thread profile.
-
Metric Thread (International Metric Thread): Includes ordinary thread (tooth angle 60°), Trapezoidal thread (profile angle 30°), Serrated thread (profile angle 33°), Square thread, etc. (This product is suitable for 60-degree ordinary thread).
Measuring Range:
-
Whitworth 55°: 4G, 4 1/2G, 5G, 6G, 7G, 8G, 9G, 10G, 11G, 12G, 13G, 14G, 16G, 18G, 19G, 20G, 22G, 24G, 25G, 26G, 28G, 30G, 32G, 36G, 40G, 48G, 60G, 62G
-
Metric 60°: 6.0, 5.5, 5.0, 4.5, 4.0, 3.5, 3.0, 2.5, 2.0, 1.75, 1.5, 1.25, 1.0, 0.9, 0.8, 0.75, 0.7, 0.6, 0.5, 0.45, 0.4, 0.35, 0.3, 0.25
-
US 60°: 8, 10, 11, 14, 19, 28
Note:
- Ensure the measuring surface of the feeler gauge is clean before use to prevent affecting measurement accuracy.
- Insert the feeler gauge into the measured space, move it back and forth, and note the resistance to determine the clearance value.
- When measuring and adjusting clearance, select the appropriate feeler gauge, insert it into the gap, and adjust accordingly until resistance is felt, then tighten the lock nut.
Share